Automate Custom Company Branding for User Sign-In Experience

Microsoft has recently redesigned its company branding functionality, granting users more flexibility in the layout. Not only can users add a full-screen background image, but they can also modify the header, footer, and links related to self-service password reset, privacy and cookies, and terms of use. Additionally, an option is available to upload a CSS style sheet, enabling users to customize colors, buttons, and more.
Company Branding
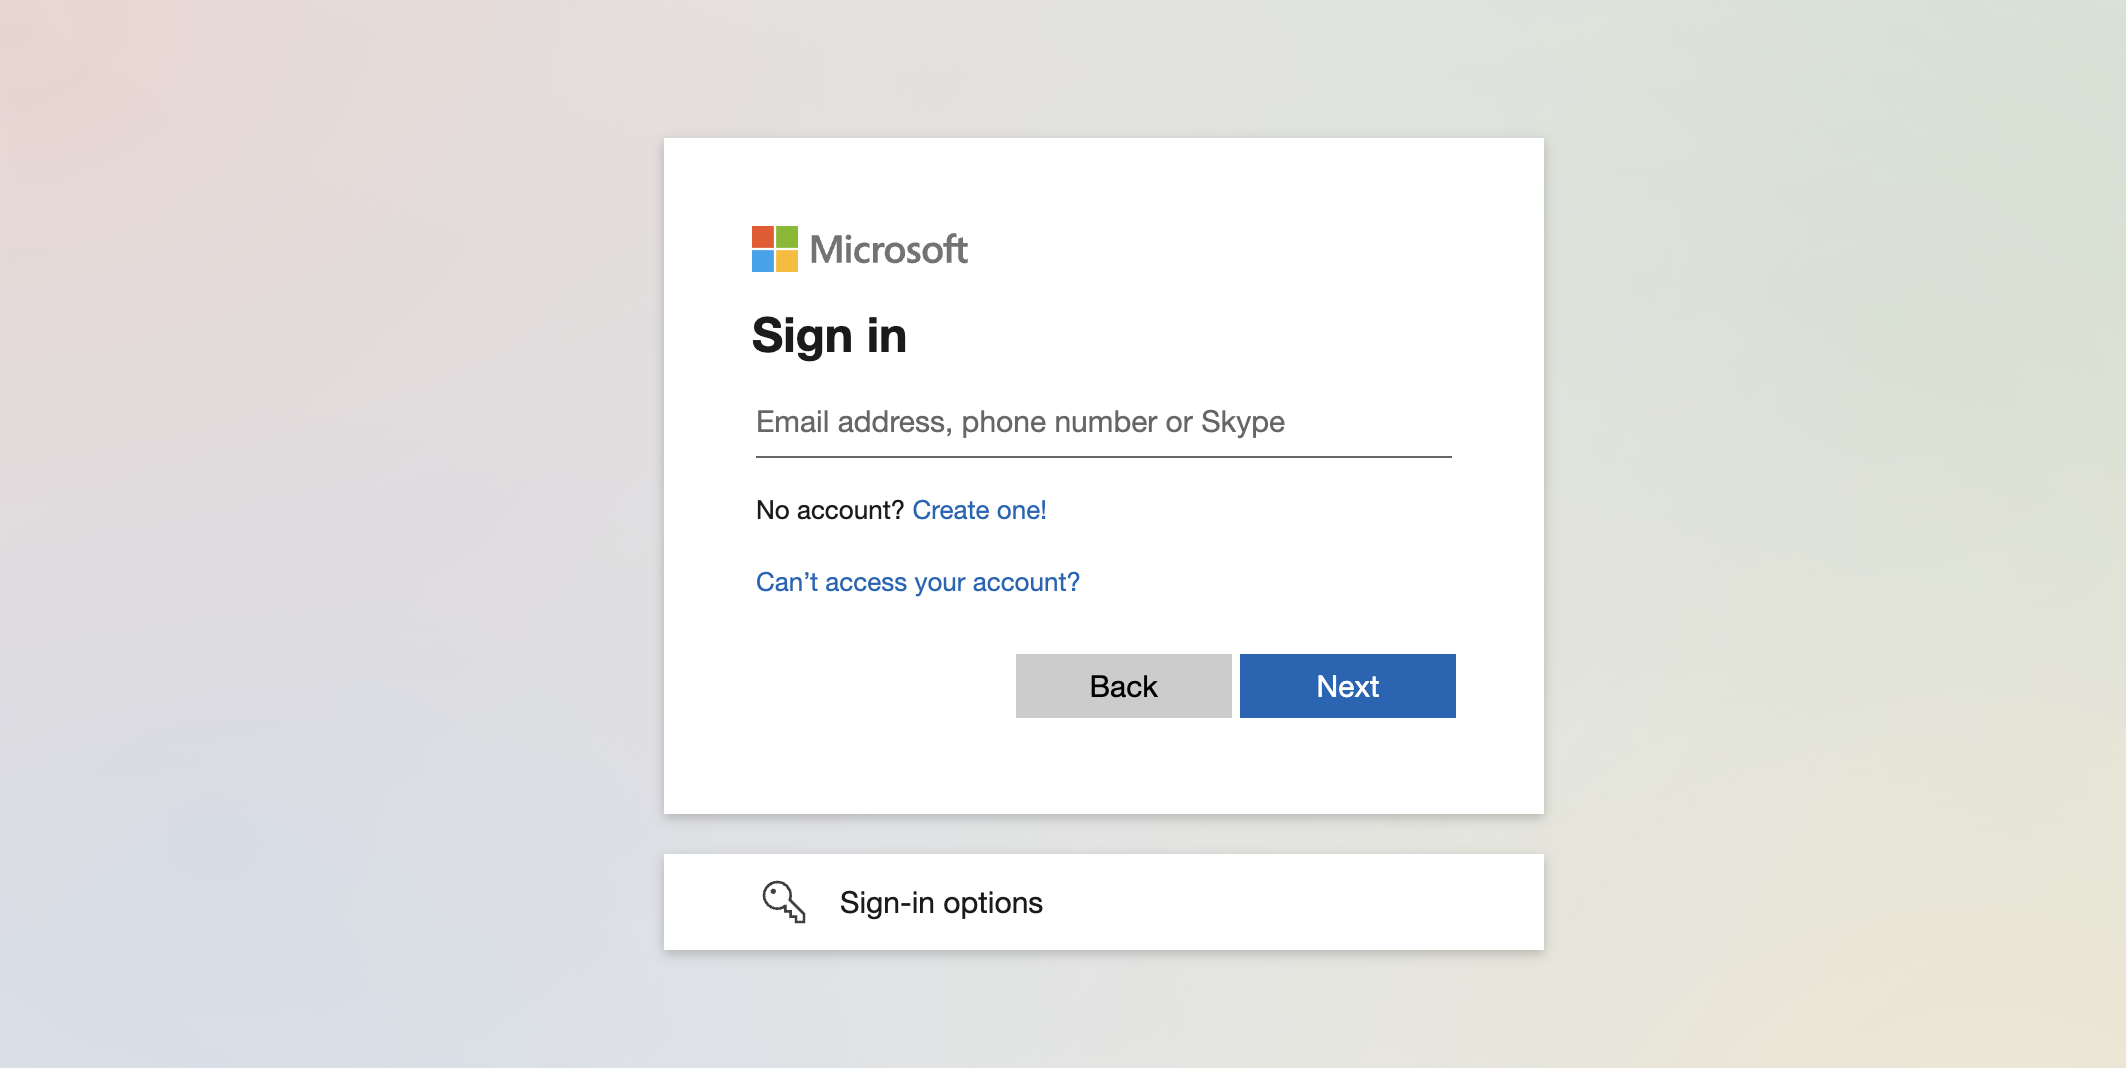
The default Microsoft sign-in screen appears for users when they sign in to https://login.microsoft.com, https://portal.azure.com, or their own built applications with an Azure AD identity provider, as depicted below.

By leveraging the company branding feature, users can enjoy a sign-in experience that aligns with the corporate identity of their respective companies. To illustrate this, I've designed a straightforward light theme and made a minor modification to the button, as displayed in the screenshot below.

Custom CSS
In my experience, the company branding feature comprises two primary components: CSS and non-CSS elements. Initially, I believed this to be the case, but upon conducting thorough tests, I discovered that all configurable items could be stored in a single CSS style sheet. These items include colors, font sizes, shadows, link colors, and background images.
background: url('https://github.com/urltotheimage.jpg');Upon several attempts, I discovered that while the color settings and font sizes worked as expected, setting a background from the CSS file posed certain issues. For instance, the background image failed to remain responsive.
Ultimately, I realized that both components were necessary to maximize the benefits of the company branding feature. Therefore, I stored items like link colors, font sizes, and button preferences in the CSS file, while managing the background image separately.
a:link
{
    /* Styles for links */
    color: #801421;
}
.ext-sign-in-box
{
    /* Styles for the sign in box container */
    border-radius:25px;
    opacity: 70%;
}
.ext-button.ext-primary
{
    /* Styles for primary buttons */
    display: flex;
    flex-direction: column;
    align-items: center;
    padding: 6px 14px;
    border-radius: 5px;
    border: none;
    background: #801421;
    box-shadow: 0px 0.5px 1px rgba(0, 0, 0, 0.1), inset 0px 0.5px 0.5px rgba(255, 255, 255, 0.5), 0px 0px 0px 0.5px rgba(128, 20, 33, 1);
    color: #FFF;
    user-select: none;
    -webkit-user-select: none;
    touch-action: manipulation;
}
Microsoft offers a pre-defined CSS stylesheet containing all configurable items, which can be downloaded from the following page: https://learn.microsoft.com/en-us/azure/active-directory/fundamentals/how-to-customize-branding#layout (look for the "Custom CSS" item).
Custom components without CSS
Consequently, I decided to remove the background image from the CSS file and instead utilized the background image placeholder found under the basis tab.

At present, only the predefined items in the CSS file are configurable with CSS. Any other elements require configuration using placeholders, such as the layout.

Configure the company branding automatically
To enable the automation of company branding configuration, I divided the process into three distinct parts:
- Configuring settings such as layout type or link configuration, which are predefined items available on Microsoft's website.
- Uploading CSS.
- Uploading images.
I separated the upload process due to differences in the content and request header, which I will elaborate on below.
Authentication
There are several authentication options available. One can opt for the client-secret method with Organization.ReadWrite.All permission, but I personally prefer using the Connect-AzAccount command with a user account that has Contributor permissions. This is because Azure AD can function with Azure Roles, eliminating the need for a client/secret with Graph API permissions.
Configure Settings
The predefined settings relate to everything that is displayed (hidden or visible) or specific text elements. All of these items can be accessed through the /organization/{tenantId}/branding Graph API endpoint. To configure these settings, I sent the following body to the endpoint.
$brandingBody = @{
    "backgroundColor" = $null
    "customAccountResetCredentialsUrl" = $null
    "customCannotAccessYourAccountText" = $null
    "customCannotAccessYourAccountUrl" = $null
    "customForgotMyPasswordText" = $null
    "customPrivacyAndCookiesText" = $null
    "customPrivacyAndCookiesUrl" = $null
    "customResetItNowText" = $null
    "customTermsOfUseText" = "Website"
    "customTermsOfUseUrl" = "https://currentcloud.net
    "headerBackgroundColor" = $null
    "signInPageText" = "Hello!"
    "usernameHintText" = $null
    "loginPageTextVisibilitySettings" = @{
        "hideCannotAccessYourAccount" = $null
        "hideAccountResetCredentials" = $false
        "hideTermsOfUse" = $false
        "hidePrivacyAndCookies" = $true
        "hideForgotMyPassword" = $null
        "hideResetItNow" = $null
    }
    "contentCustomization" = @{
        "adminConsentRelativeUrl" = $null
        "attributeCollectionRelativeUrl" = $null
        "registrationCampaignRelativeUrl" = $null
        "conditionalAccessRelativeUrl" = $null
        "adminConsent" = @()
        "attributeCollection" = @()
        "registrationCampaign" = @()
        "conditionalAccess" = @()
    }
    "loginPageLayoutConfiguration" = @{
        "layoutTemplateType" = "default"
        "isHeaderShown" = $false
        "isFooterShown" = $false
    }
} | ConvertTo-Json
$brandingUrl = "https://graph.microsoft.com/beta/organization/{0}/branding/" -f $tenantId
Invoke-RestMethod -uri $brandingUrl -Headers $authHeader -Method PATCH -body $brandingBody -ContentType 'application/json'
It's important to note that the Content-Type will be changed in later steps. Currently, the Content-Type is set to application/json.
Regarding the layout template types, there are two options available: default and verticalSplit.

Upload CSS
Uploading the CSS file is a straightforward step. First, I read the contents of the CSS file, and then I send the data to the Graph API CustomCss endpoint. To send CSS files, I specify the content type as "text/css". It's important to note that the Content-Type mentioned earlier will now be updated to "text/css".
$cssBody = Get-Content ./style.css
$cssUrl = "https://graph.microsoft.com/beta/organization/{0}/branding/localizations/{1}/customCSS" -f $tenantId, $language
Invoke-RestMethod -uri $cssUrl -Headers $authHeader -Method PUT -body $cssBody
Upload Images
To handle the image upload, we need to use multiple Graph API endpoints. Each image has its own unique endpoint, but the process is the same for all. First, we need to read the image file and get its size. Then, we need to encode the file's contents and send them to the corresponding Graph API endpoint. PowerShell can handle the encoding of image files and sending them to the Graph API with the following code:
$imagePath = Get-Item 'pathToImageFile.png'
$fileSize = (Get-Item -Path $imagePath).Length
$BinaryReader = New-Object -TypeName System.IO.BinaryReader([System.IO.File]::Open($imagePath, [System.IO.FileMode]::Open, [System.IO.FileAccess]::Read, [System.IO.FileShare]::ReadWrite))
$bytes = $BinaryReader.ReadBytes($fileSize)
$isoEncoding = [System.Text.Encoding]::GetEncoding("iso-8859-1")
$encodedBytes = $isoEncoding.GetString($bytes)
You need to repeat this process for every image you want to upload.
Next, I proceeded to send the encoded bytes to the corresponding Graph API endpoint. To indicate that I am sending an image, I used the image/* content type for the request. (In the following example, I sent the encoded bytes for the background image).
$imageUrl = "https://graph.microsoft.com/beta/organization/{0}/branding/localizations/0/backgroundImage" -f $tenantId
Invoke-RestMethod -uri $imageUrl -Headers $authHeader -Method PUT -body $encodedBytes -ContentType 'image/*'
The following Graph API company branding image endpoints are available:
Good to know
To use the company branding feature you must have one of the following licenses
- Azure AD Premium 1
- Azure AD Premium 2
- Office 365 (for Office apps)
If you require further assistance, please don't hesitate to contact me.
Contact me via,
Mail: tycho.loke@peoplerock.nl
Phone: +31 6 39 41 36 65
LinkedIn: Tycho Löke

